Metadata Script User Guide
Before running the metadata search script you will need to make sure you are running the appropriate version of Powershell (Powershell 3) on your laptop. After workstations are updated to Windows 10 there should be powershell 3 installed by default but if you are attempting to run the script before that update (Around the end of 2019) is slated to occur you can run the installer here: J:\DACP\Powershell 3
Please note you may need to restart your laptop/workstation after the installer is finished to ensure the update is applied.
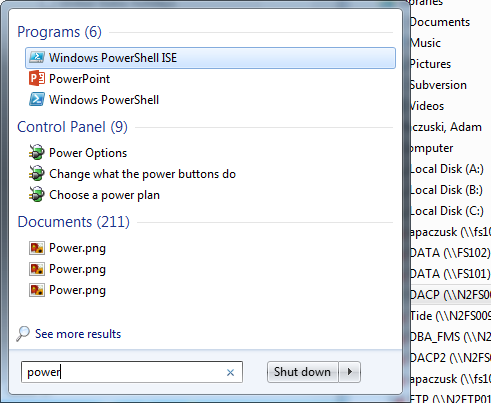
In order to run the script you will need to first open up powershell by hitting the windows key and typing in powershell and selecting the ISE choise
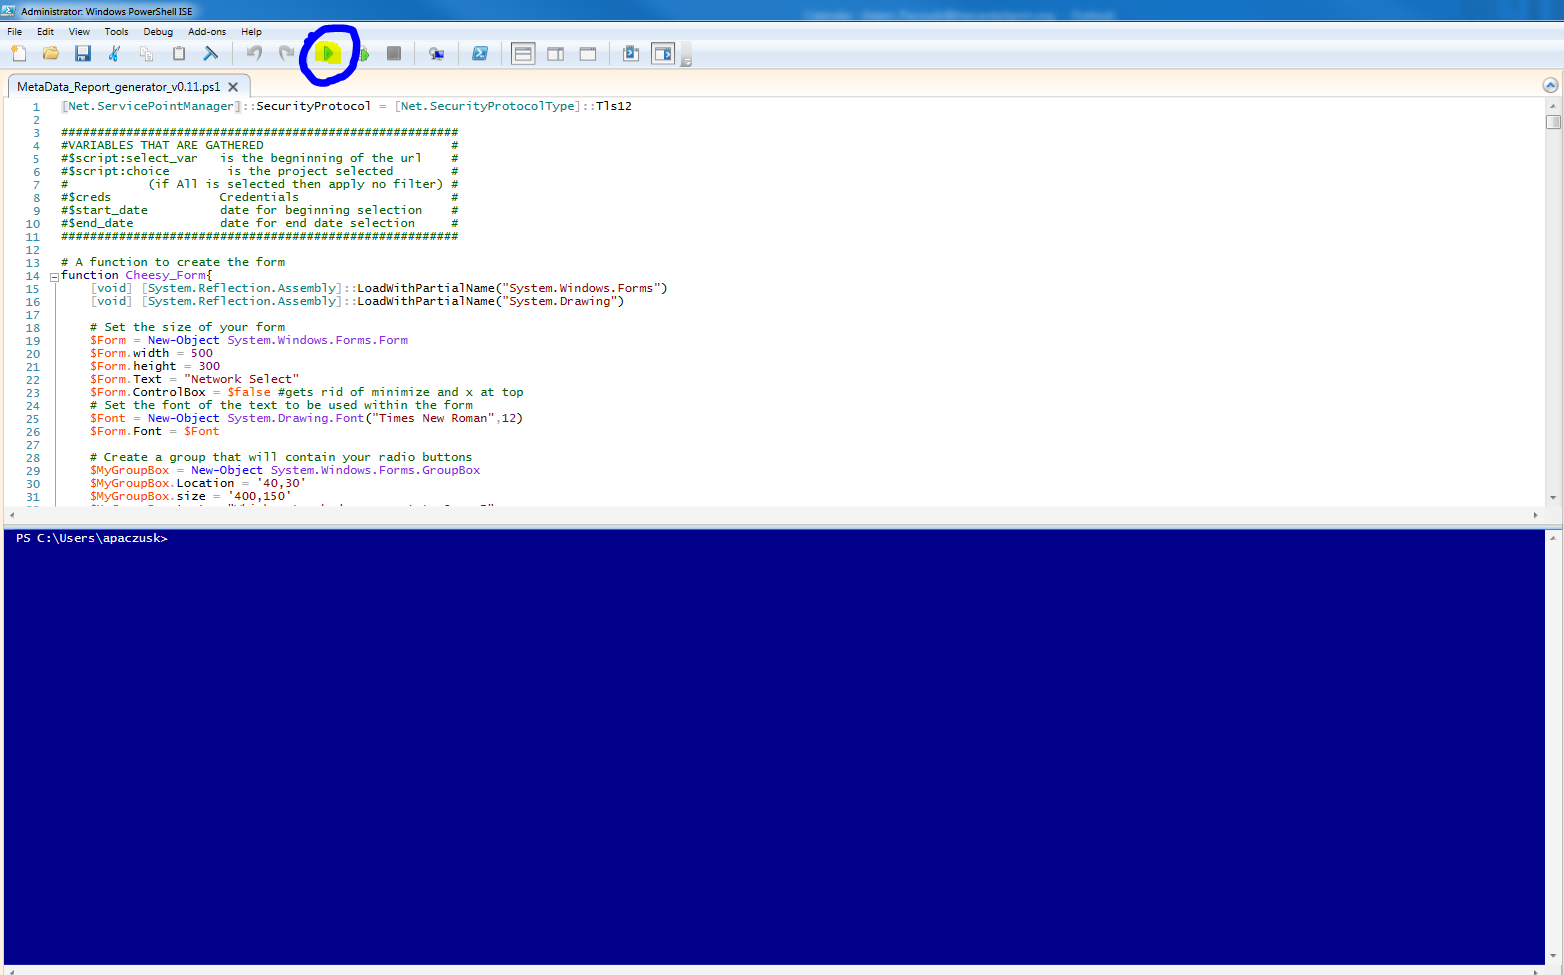
Once the ISE is open you can click File open and navigate to the script location on your laptop.
Once the File is Open you can click the Play button at the top of the screen and the program should start
The MetaData search capabilities are moving from the PopMedNet tool to a Powershell script where you will be able to search for Metadata on requests and responses from Datamarts much in the same way.
Originally, information was requested on a web form as part of the PopMedNet tool. This was moved to an external Powershell script in order to allow easier removal of legacy code from the PopMedNet tool. From our research this tool has historically been used by two groups: PCORnet’s QF team and Sentinel’s Finance teams to gather information on what Datamarts have successfully completed queries.
Note: This tool requires Powershell version 3 or above in order to function properly.
Step-by-step guide
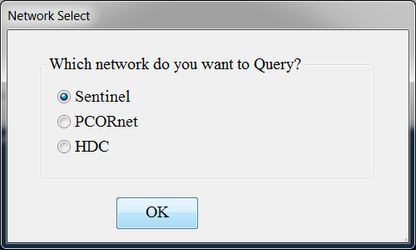
Step 1: After beginning to run the program, you will be prompted to select a network to query. Pick either Sentinel, PCORnet, or HDC and click OK
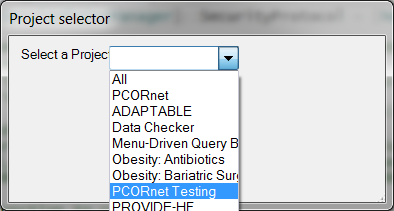
Step 2: The next step is to select a project to pull queries from. You can also choose not to specify a project, in which case you will be returned queries sent through all of the projects.
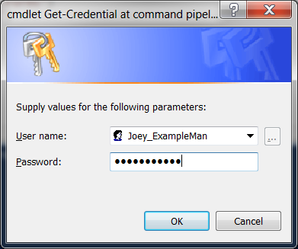
Step 3: After selecting a project you will be prompted to enter your credentials. If you know them, simply input your username and password and click OK. If you do not remember your credentials and wish to exit the application, simply click cancel and a window will pop up with an option for you to quit the program.
Step 4: Once your credentials have been validated, you have the option to choose a time-frame to pull queries from. Simply select a start date and end date and press the Enter key.
After selecting your dates, the tool will begin to scan. Depending on the amount of queries to be returned, this process can take up to 5 or 10 minutes. When the scan has completed your results will be available to you in CSV form.
Related articles