Installation Guide for Testing ESP: MDPHnet
A sample ESP: MDPHnet database is available if your site is interested in testing the PopMedNet™ software using an ESP: MPDHnet data model.
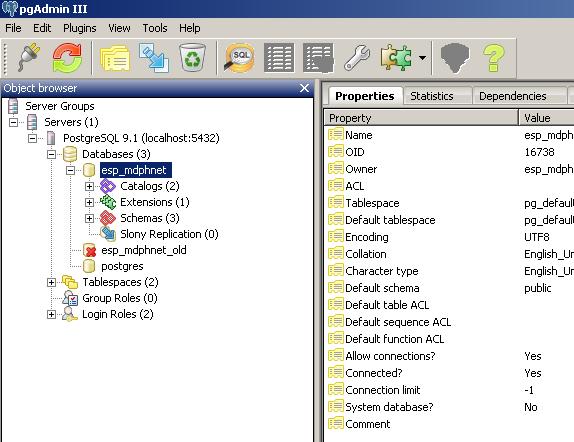
The database is a Postgres database accessible from the pgAdmin application. Follow the instructions below to install pgAdmin and the ESP: MDPHnet database.
Click below to download the sample ESP: MDPHnet database.
1. Install Postgres 9.x.x
- Download the software from: http://www.enterprisedb.com/products-services-training/pgdownload#windows
- During the installation process, you will be prompted for several different pieces of information. Enter the following when appropriate:
- Password: Password1!
- Port: 5432
- Location: Default
- Username: esp_mdphnet
- When the installation is complete, click 'Finish'
- When prompted for a username, select
3. (Optional) If you provide a user name different from “esp_mdphnet”, then additional setup steps are needed.
Postgres uses the concept of search path to find tables that are unqualified in SQL statements. Search path is a list of schemas. By default, Postgres searches only the schema with the same name as the login user and the public schema. The DataMart Client makes use of the search path. There are two ways of ensuring the ESP database is in the search path:
- Create an “esp_mdphnet” user and grant it rights to the “esp_mdphnet” schema (recommended).
- Launch pgAdmin III.
- Select the “esp_mdphnet” database.
- Right click “Login Role” under the “esp_mdphnet” database and select “New Login Role…”
- Enter “Role name” as “esp_mdphnet”, add a password under “Definition” tab and check off “Superuser” under the “Roles privileges” tab.
- Alter the login user’s search path to include “esp_mdphnet”.
- Launch pgAdmin III.
- Select the “esp_mdphnet” database.
- Click the “SQL” icon on the toolbar.
- Type: ALTER USER <your user> SET search_path TO “$user”,public,esp_mdphnet
- Go to Windows’ Control Panel > Administration > Services. Restart Postgres
